

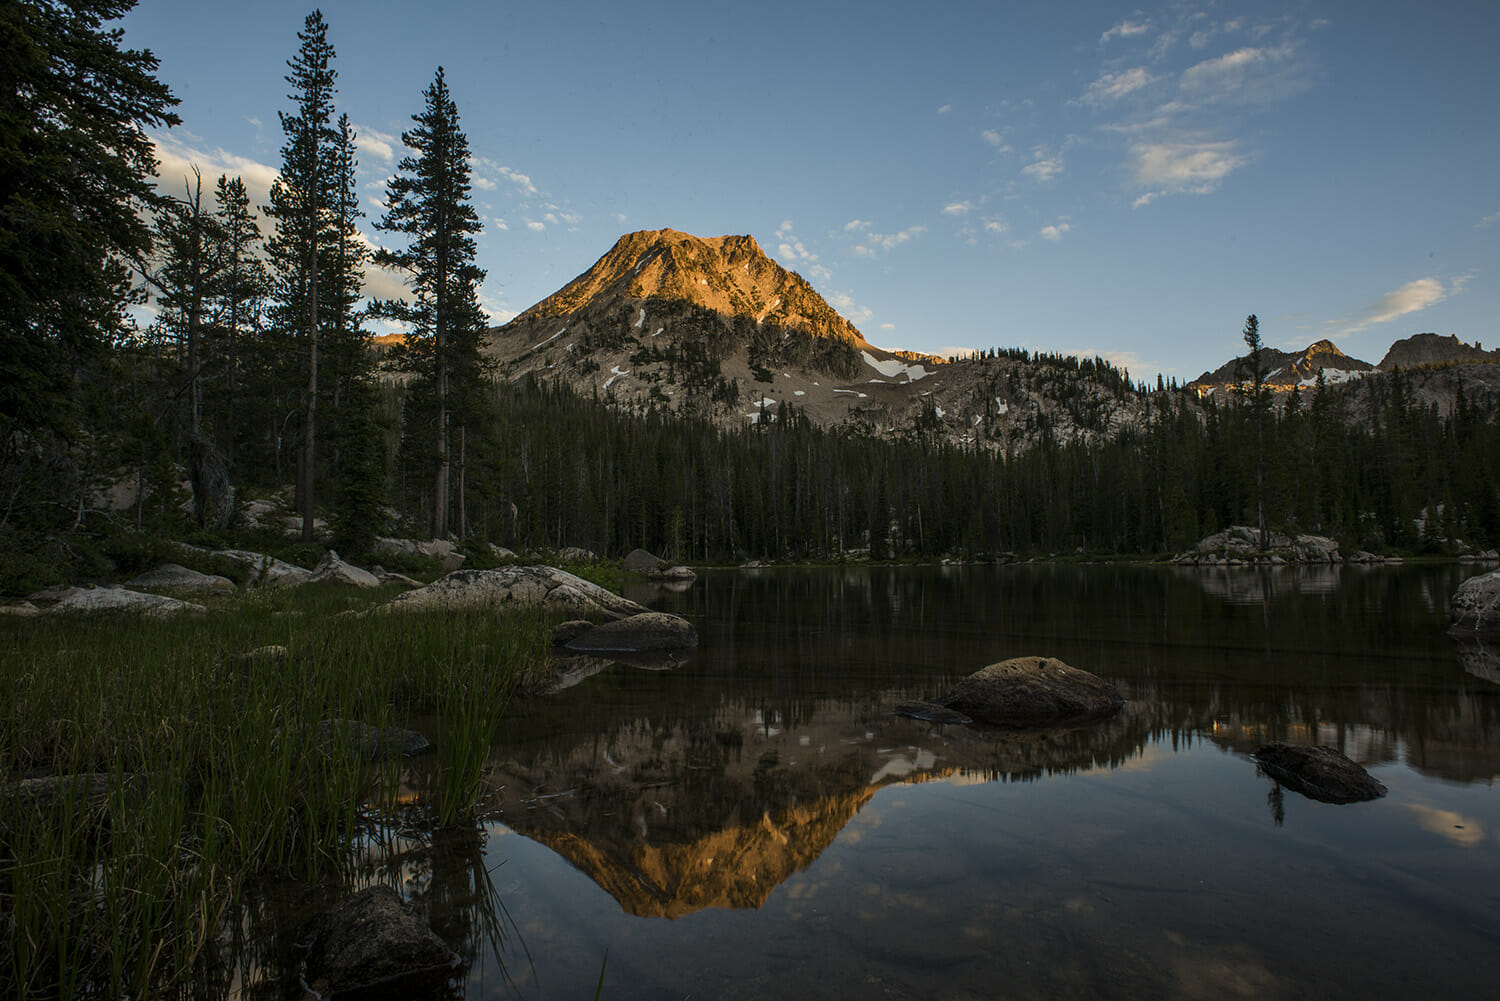
Picture this. You’re sitting on a rock, tailgate or a patch of nice ground along the river’s edge either by yourself or with good companionship. It’s been a long day on the water and the sun is making it’s daily move behind the clouds and the mountains.
There’s always that one person, usually me, that comments how amazing the surroundings are at that very moment. It’s then when I pick up my camera, which happens to always be around, and position myself to capture the absolute beauty of a place I just spent all day fishing. Whether you are an amateur or professional photographer many often wrestle with what the “best” image should be in this situation. The answer is simply there is no best image. Only the image that you’d want to look at over and over again to remember one slice of an entire fishing season.
Now, wouldn’t it be incredible to capture that moment in a series of 500 plus images to see the scene unfold over the course of the next hour? Most cameras these days, whether it’s our iPhone, a GoPro or an advanced DSLR, have a time-lapse feature built right in. While I’m a fan of a singular image, as it’s where I got my start in imagery and photography, I’m starting to become a fan of building out a scene only to watch it unfold right in front of me on camera.
Here are a few tips and tricks to capture that moment in a time lapse fashion.
- Tripods are the answer. First and foremost keep your camera from moving. That may be as simple as steadily securing your camera to the top of your truck or as fancy as a full-blown tripod weighted down so the wind doesn’t get the best of your moment.
- Frame the image much like you would a singular still photograph and set the exposure manually if your camera allows. This is critical because it sets up the baseline for the entire time-lapse whether that’s for 10 minutes or 5 hours. If you have manual exposure capabilities I’d recommend using an shutter speed less than 100th of a second. This will help eventually “blend” the images together better, leaving you with a clip that won’t flicker or cause unnecessary jumps. Trust me, I’ve made this mistake all too often.
- Set your focus manually if possible and leave it there. Don’t let the autofocus do its job because halfway through the time lapse you’ll have everything out of focus suddenly. Been there, done that, too.
- Often these days cameras have an intervalometer built into their menus. Use it if you have one. If you don’t know what that means, a simple way of putting it would be like using a timer for when your camera fires each individual frame. This tool allows the camera to make a frame at your set exposure for whatever time you set it to fire. I’d recommend starting at setting up a frame to fire every five seconds for normal moving clouds and conditions. Experiment with that, though, to see what works best for you in the final product. If you don’t have the intervelometer built in to your camera then improvise. Without shaking the camera manually shoot a frame every 5 seconds for the decided upon length of time. This is a pretty tough way to do it but it’s been done before. The key is to not move the camera. Use a shutter release cable if you can.
- Once you’re done with your beverage of choice—I mean time-lapse—then shut it down and call it a day.
- Assembling the frames after you’re finished is often the tricky part. One that I’m not comfortable suggesting to anyone as it’s a personal preference. I’ll tell you I do it two ways these days. One would be straight in camera. Like I said most cameras these days have the time-lapse feature built right in and will assemble your frames once your finished for you into a movie file. The other way I use is a program called Quicktime Pro. It’s cheap and easy to operate.
That’s it. I’ve simplified it quite a bit, but feel free to experiment. The whole point to have fun and share the images with friends, family or for yourself. Also, if you ever have any questions feel free to reach out to me at jduplechian@tu.org. I’ll happily walk you through any problems or thoughts.