

Part two
Editor’s note: This is the second installment in a two-part series. Read part one here.
Cameras have gotten faster, cheaper and a whole lot more powerful. Almost everyone owns a camera or has a very powerful one in their phone and, therefore, everyone can be a photographer.
While “happy snaps” can do a fine job of documenting a trip, why not up your game a little and take better photographs? Creatively composed shots are not as complicated as one might think. By following and practicing the first 10 suggestions from last week as well as the ones below, you can tell the whole story of your trip and not just part of one. You’ll find the last 10 suggestions on how to up your photo game on the water below:
11. Take more than one shot: Take three times as many photos as you normally would. Many cameras have a setting to take more than one shot at a time. This is especially important when shooting fish as they like to flop around when out of the water — making the hero shot challenging at times. The more shots you can rip off in a couple of seconds the better. Take more than you need and if you’re short on card space just erase the ones you don’t like after you’ve released the fish. One note, make sure the fish you are photographing spend as little time out of the water as possible — only a few seconds at a time.
12. Learn how to hold a fish for a better grip-and-grin: Remember that heroic fight, the run down the bank, the last ditch effort by your fishing partner to net the fish of a lifetime? After all that, don’t waste the shot by holding the fish awkwardly. Here’s a foolproof method for getting the best shot of your fish. Drop your arms to your sides, face your palms out. Now think about the fish resting on just the very tips of your fingers and letting your thumbs slide behind the fish, partially obscuring them from view. Be very cognizant of damaging or covering up the gill cover and pectoral, pelvic, and anal fins. Position your hands behind the head and in front of the tail. If the fish is larger and you need a little bit of elbow grease to hold it, simply switch the position of your tail hand to the front of the fish grasping with your entire hand around the front of the tail. This covers a bit more of the fish but still shows the tail and makes it a bit more manageable to control large fish. Again, only hold the fish out of the water for a few seconds.
13. Try something different: Instead of the same old awkward holding big fish picture try something different. Take a picture of the smallest fish you caught that day. Hold the fish as far away from your body as possible with the fish safely over and low to the water. Focus just on the fish. This tends to make them look quite a bit larger. Try taking a photo of the fish resting in the net, in just a couple inches of water. Take your first shot just as the fish is slowly being raised out of the water. Sometimes this freezes the water dripping off the fish making for a nice effect. Rest your fish in some slack water and take a couple of shots as it makes his dash for the current kicking up a wave in the process. The options are endless so get creative…
14. Be nice to the fish: Speaking of fish out of water, my friend Marshall Cutchin of midcurrent.com might have the best yardstick for how long a fish should be out of water. Out fishing one day his friend was trying to take pictures of a fish he caught. When he asked how long he could hold the fish out of the water Marshall replied that he should start holding his breath as soon as the fish came out of the water. When you run out of breath it’s time to let the fish go. Basically, don’t abuse the fish just for a photograph. Make it short and sweet.
15. Get closer to your subject: Look at most of your photos of fish or fishing friends or the boat. I’ll bet most of them are taken from about 10 feet back. Don’t be scared, that fish isn’t going to bite… too hard. Get on up in its grill and take some interesting shots. Fill the frame with angler and fish. Here’s a good rule of thumb. Whenever you take your next image of a friend, fish, camp, whatever, get twice as close as you normally would and take a couple of shots. In fact take a bunch. You can always erase them.
16. Think “focus:” Most cameras autofocus using a best guess technique. This can be difficult if the subject is partially obscured by vegetation or you want to frame off-center. One trick is to put the subject dead center, press the shutter halfway down to set exposure and focus, then while still holding down the shutter (to maintain that exposure and focus) reframe the photo and shoot. If it is a really tough autofocus shot (obscured by vegetation) switch to manual focus if you can.
17. Stop and look around: Anglers get to see some amazing sights when out in nature. Colorful sunsets, sunrises, gatherings of migratory birds, strange animal behavior, incredible landscapes, friends doing silly things… shoot this stuff. In fact, shoot this more than just your standard trophy or grip-and-grin. It can be far more interesting when looking back at your trip as a whole. Tell a story, not just a piece of one.
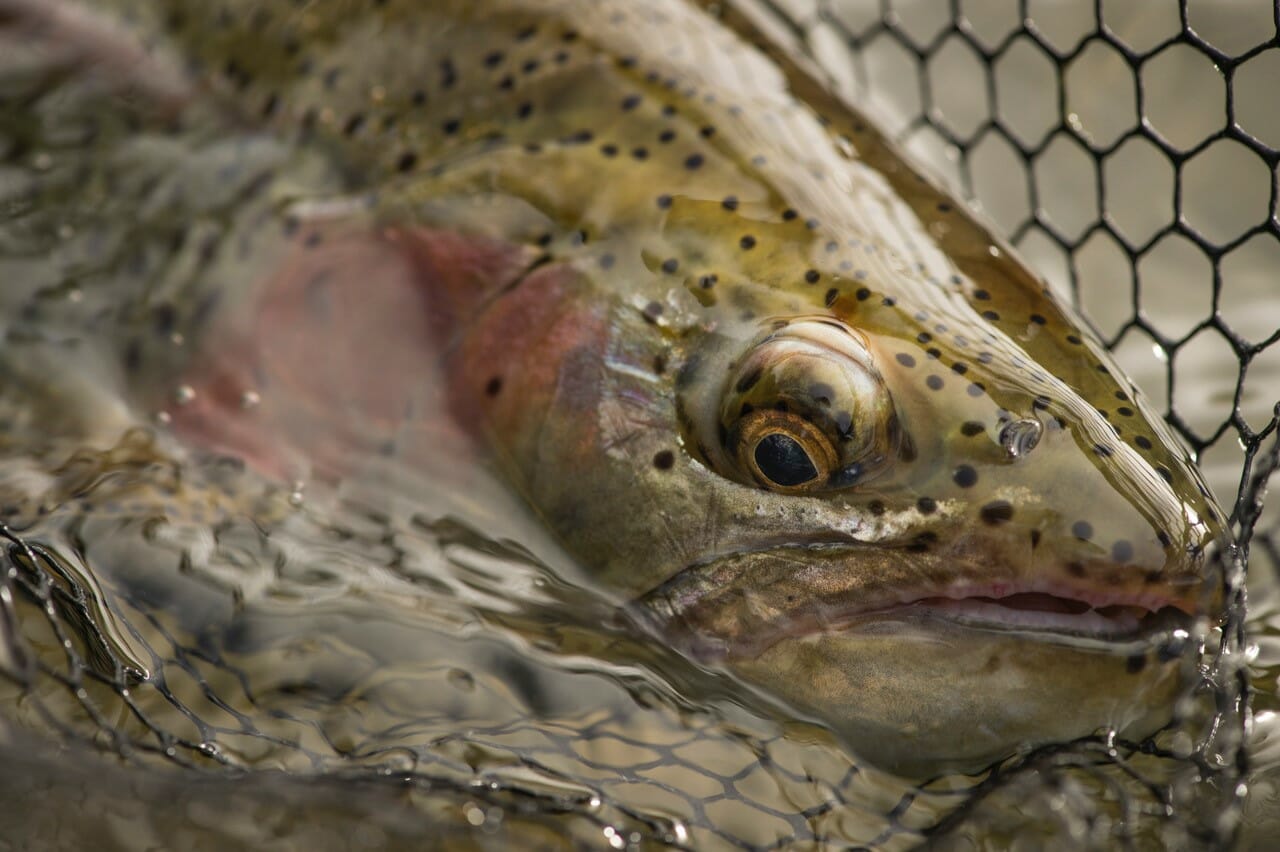
18. Try different angles: 90 percent of pictures I see are taken at eye level. Stop being lazy. Get on your knees or your stomach. If you can, get above the situation, like on the roof of you car or the bed of your truck, and shoot down. Take a picture of that fish at the level of the water — with just its eye above the water line.
19. Track the sun: “Keep the sun at your back” is still true with digital photography. Colors are typically much better if the fish is in sunlight rather than in shadow. Shooting into the sun will render anything other than the background as silhouette. This can work in your favor if the landscape is your main focus. A well placed silhouette can really make a photograph.
20. Mind the light: Keep in mind the “magic hour,” which is just after sunrise and just before sunset when the sun is low on the horizon. The sunlight is traveling through more atmosphere and this provides a warmer, richer light.