Part one
Cameras have gotten faster, cheaper and a whole lot more powerful. Almost everyone owns a camera or has a very powerful one in their phone and, therefore, everyone can be a photographer.
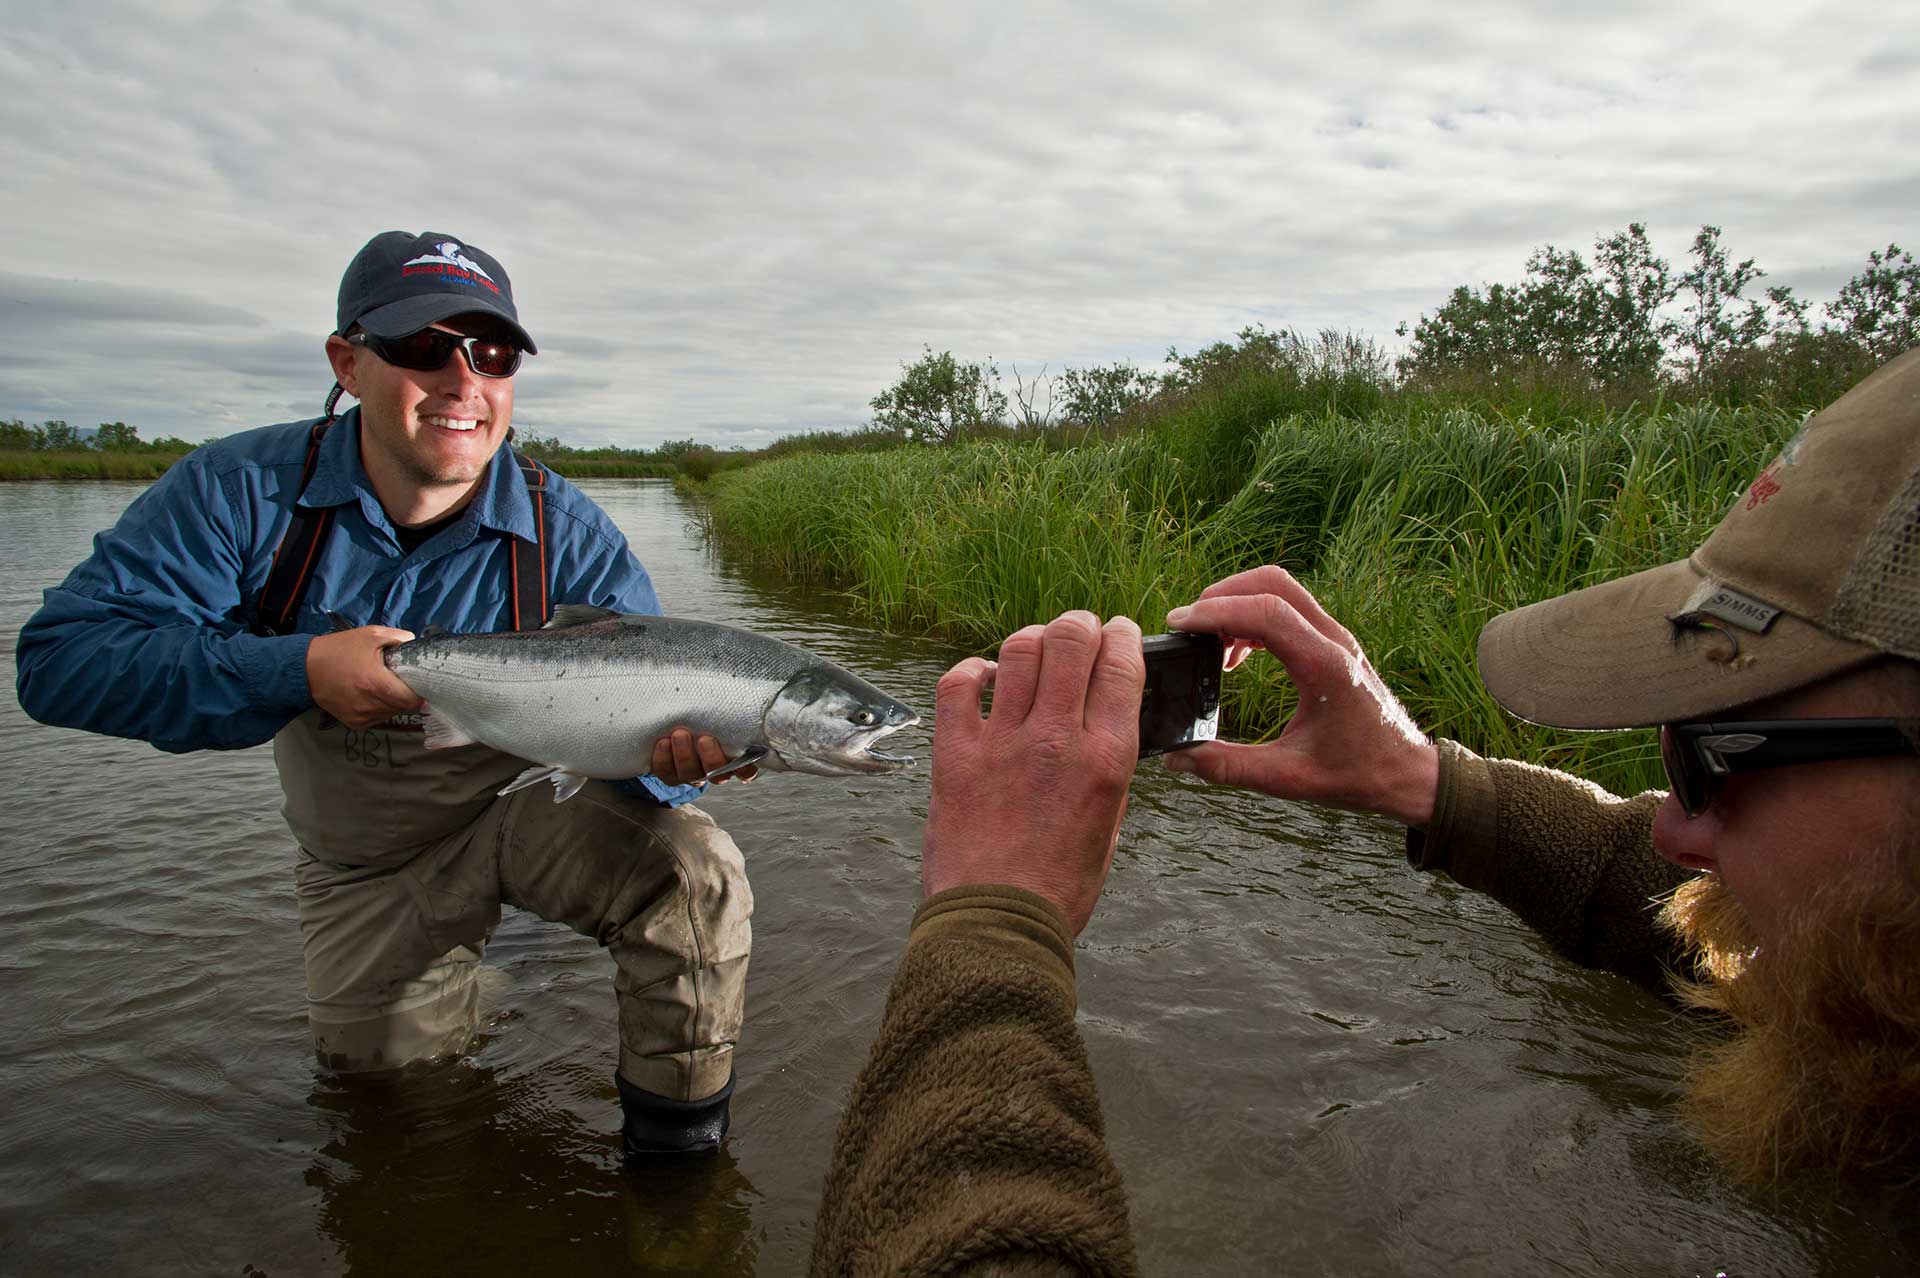
While “happy snaps” can do a fine job of documenting a trip, why not up your game a little and take better photographs? Creatively composed shots are not as complicated as one might think. By following and practicing the next 20 suggestions and tips, you can tell the whole story of your trip and not just part of one. Below you’ll find the first 10 suggestions on how to up your photo game on the water. Check back next week (Tuesday, June 8) for 10 more.
- Learn what the buttons do: Sit down with your camera manual and read. You don’t have to learn everything, but knowing the basics is important. Modern point-and-shoot cameras are powerful machines that combine a ton of features that are easy to use and can vastly improve your photos. Most people never take their camera off “auto,” which is a shame.
2. Check to make sure your camera’s working before you head out: Are the batteries fresh? Is everything working properly? Are your memory cards erased? Check to make sure the camera is not still switched to the “indoor light” settings from your little sister’s birthday party the night before. There have been numerous occasions where my first great shot of a trip is ruined because my settings were wrong for the occasion.
3. Have your camera accessible: I can’t tell you how many times I would have had a great shot if my camera was not buried under pounds of fishing gear, lunch or my rain jacket. Have the camera at the top of your bag or dry box. If you’re worried about it getting wet, buy a small dry bag that can easily be slipped into a vest pocket. Dry bags have gotten slimmer, and less expensive. They are easily worth the money for protecting your camera.
4. Be aware of condensation: Much like bringing a cold beverage out of the freezer, your camera will “sweat” and fog up if brought from an air-conditioned environment into a humid or hot environment. Some cameras will malfunction and actually shut off if the condensation becomes too much for the internal circuitry. The same goes for shooting in the winter — if it’s hot inside and you march right out into the cold the same thing will happen. Let your camera get accustomed to its environment for a full hour before its first use.
5. Use your macro setting: Most point-and-shoots have amazing macro capabilities that are never utilized. On most cameras, the icon for this setting is a little flower. This will allow you to fill the frame of your picture with a fish’s eye, unique markings, the fly you tied, or the lure sticking out of the fish’s mouth.
6. Centered images can be boring: While this is not always the case try and use the “rule of thirds.” Divide your frame into thirds both horizontally and vertically. Place the center of attention on one of those “third lines.”
7. Make the fish or gorgeous wooden boat you happen upon “pop”: Use your longest zoom setting (without using digital zoom). Without going into the technical details, this “stacks” the image compressing space. Typically this will throw your background into a soft focus, drawing the viewer’s eyes to the subject.
8. Always, always, always look for distractions in the photo: This is harder to do than one might think. It’s a practiced skill, but will vastly improve your images. For example, don’t let cousin Joe’s backpack into the side of the frame or your buddy’s fishing rod hover into your shot from out of nowhere. Isolating your subject matter without all the distractions will improve the overall composition of the shot.
9. Be steady: Take a breath and hold it while you shoot. The reason most wildlife shots don’t turn out is that the camera moved during the photo, producing a bit of blurring or fuzziness. Many people blame this on the camera or lens, but it is almost always the photographer who is to blame. Be especially aware of this during low-light situations.
10. Be stealthy and slow down: This not only helps your fishing, but your photography, too. Putting your rod down and walking very, very slowly will allow you see some amazing things while out on the river, lake or ocean. Holding fish don’t dart away, eating fish continue to eat, birds don’t flush and spook fish. Some of the hardest shots to get are fish underwater photographed from above or a fish eating a specific fly.
Check back next week for 10 more photo tips to increase the odds of getting better “on the water shots…”


