

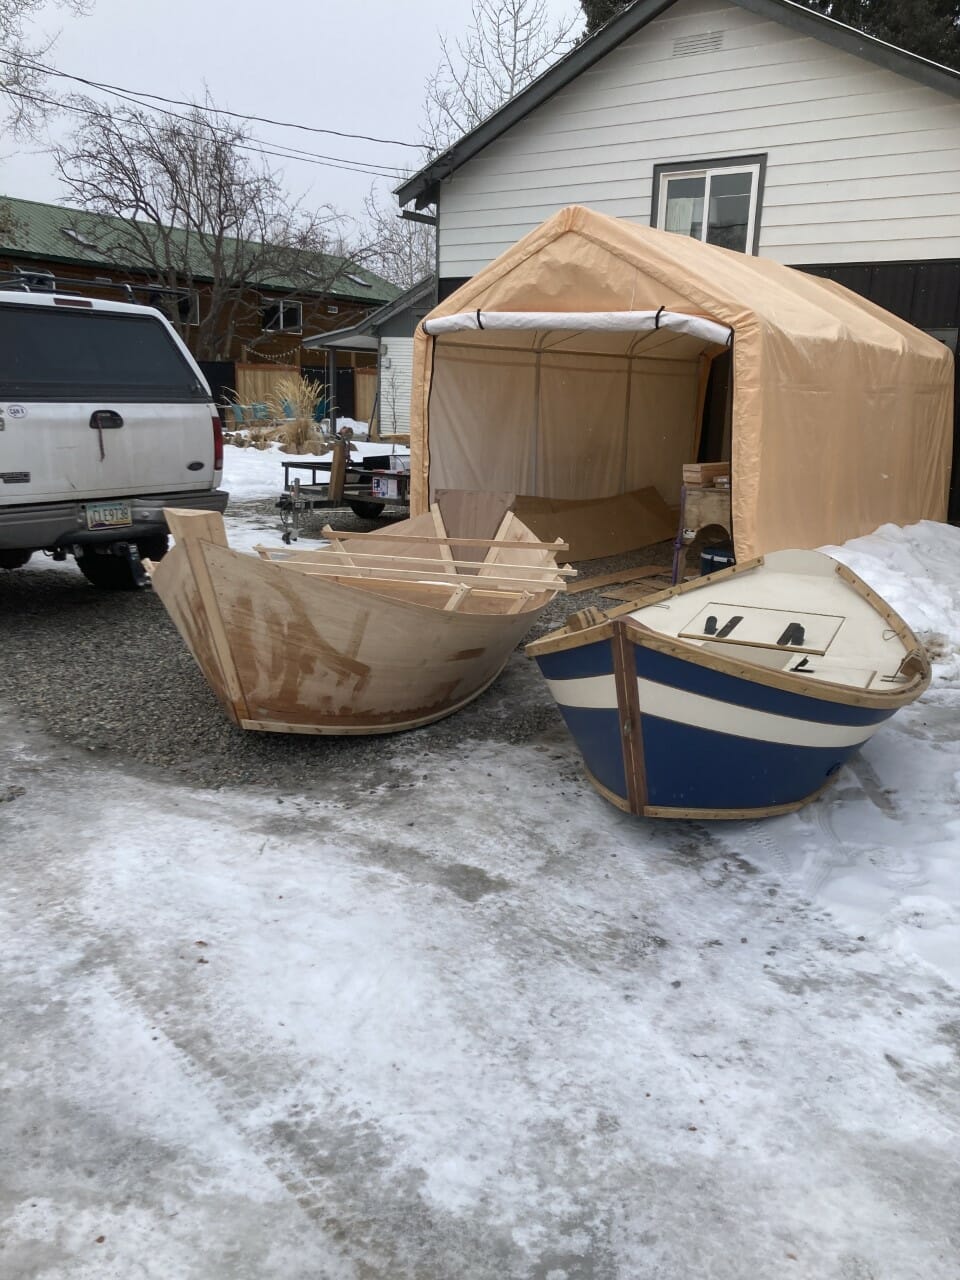
A few weeks ago, we introduced you to a radical drift boat design from Justin Gallen over at Raindog Boatworks. Today, we have an update from Justin on how the prototype boat is progressing.
From Justin…
When we left off last, the boat was still on the strongback. You build a form with cross members at each station, and suspend the ribs, bowpost, and transom vertically at their respective stations and heights. You then lay a blank sheet of plywood on the components and trace everything to get a side panel template. After that, no more need for the strongback, and future builds will be free form (where you cut out side panels off of the template and fix them directly to the components).
So that’s where we are now!
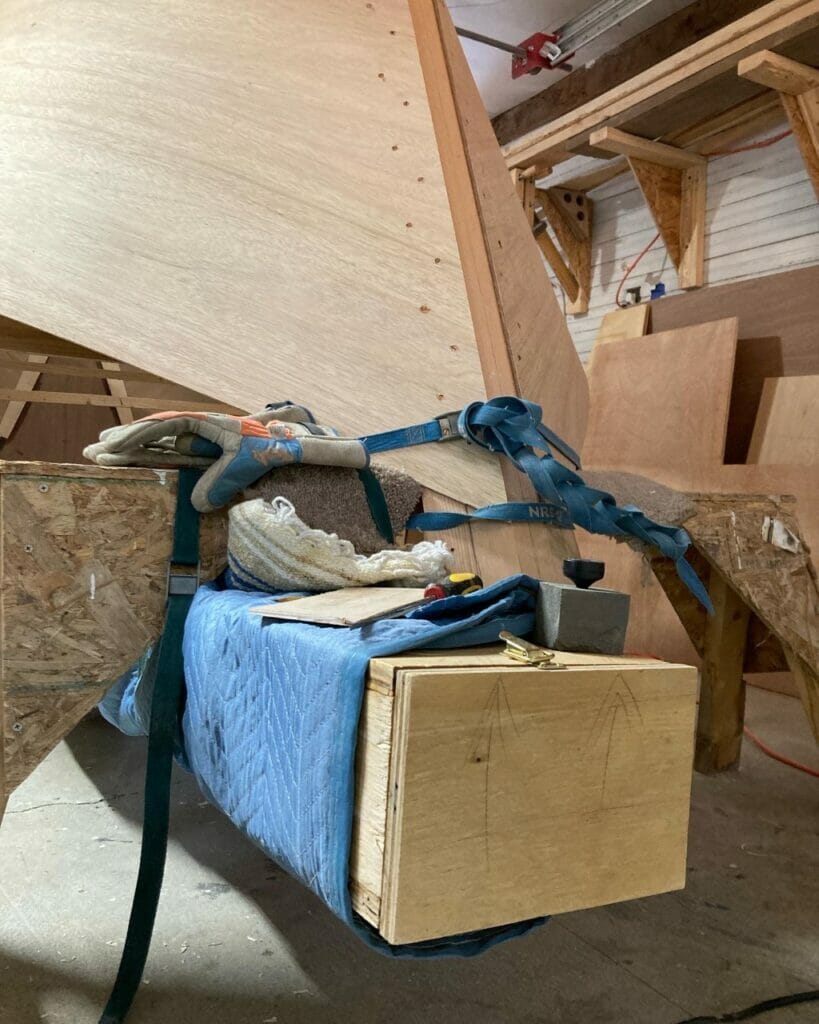
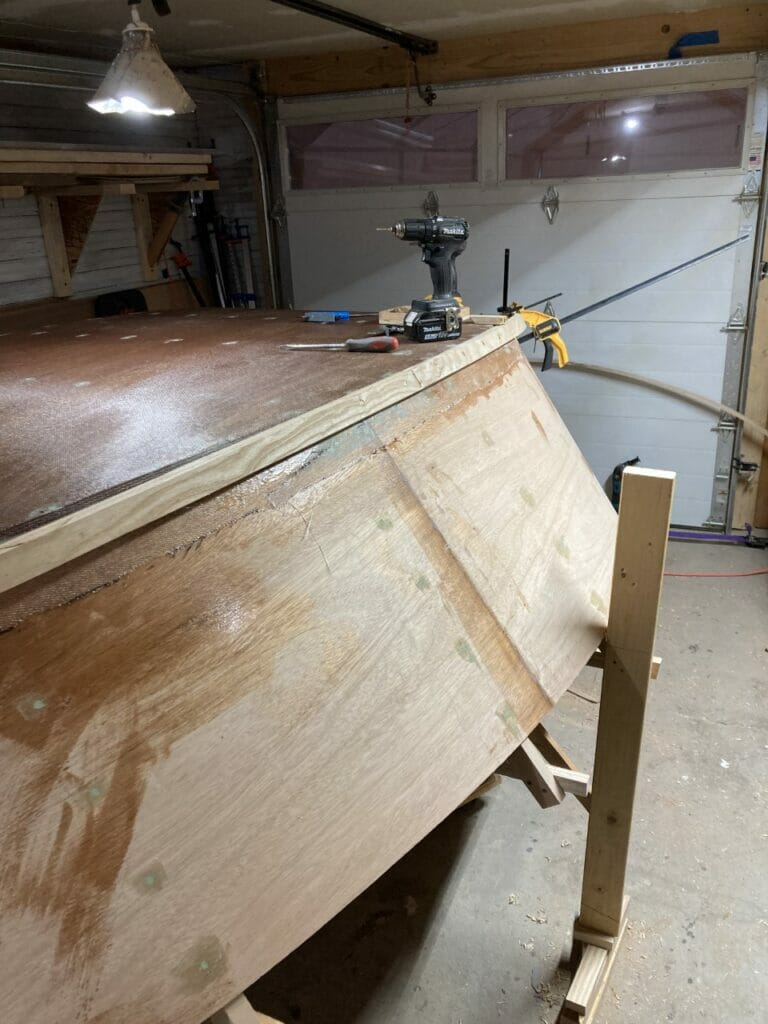
After disassembling the strongback, it was time to steam bend the chines. I can only get 10-foot lengths of white ash here in Gunnison, so I have to cut a feather scarf joint and glue them into longer lengths after the steam bending. Since my shop is so small, the only place I can put it and keep it accessible is by hanging it off the sawhorses under the boat.
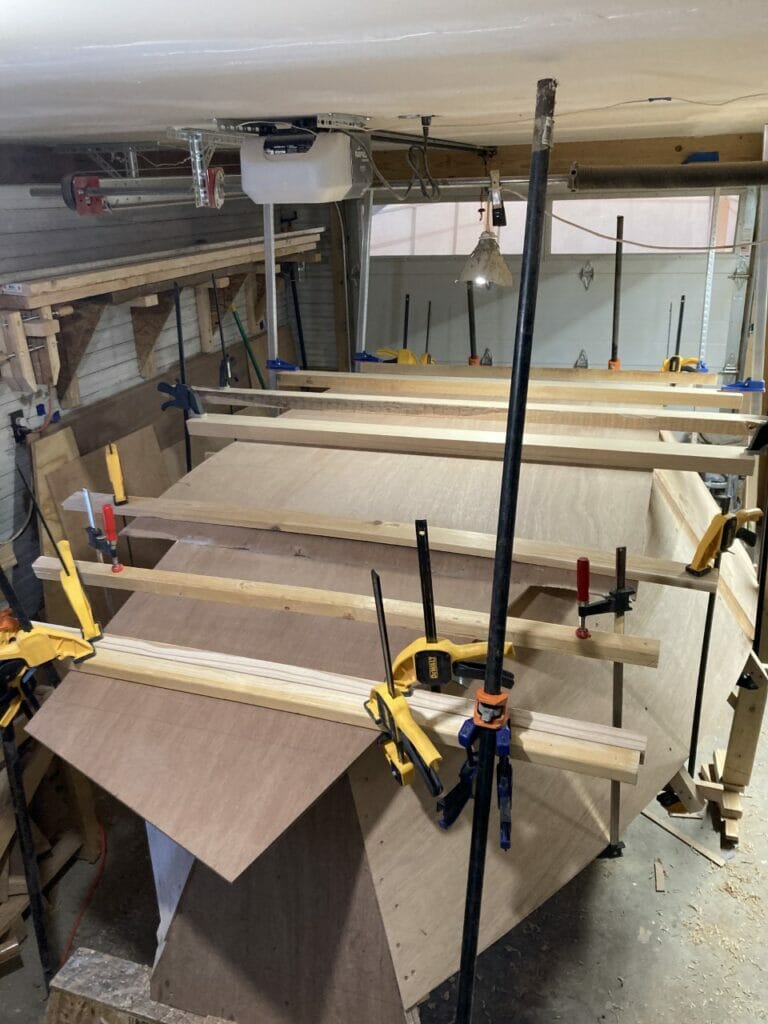
Next, I cut notches for the inner chines and laid them in. After planing the bottom of the chine and side panels, I laid down a sheet of 3/8-inch plywood for the floor (normally I would use ½-inch but 3/8-inch was all I had available). I added a layer of fiberglass on the floor for added protection, and fastened the out chine on.
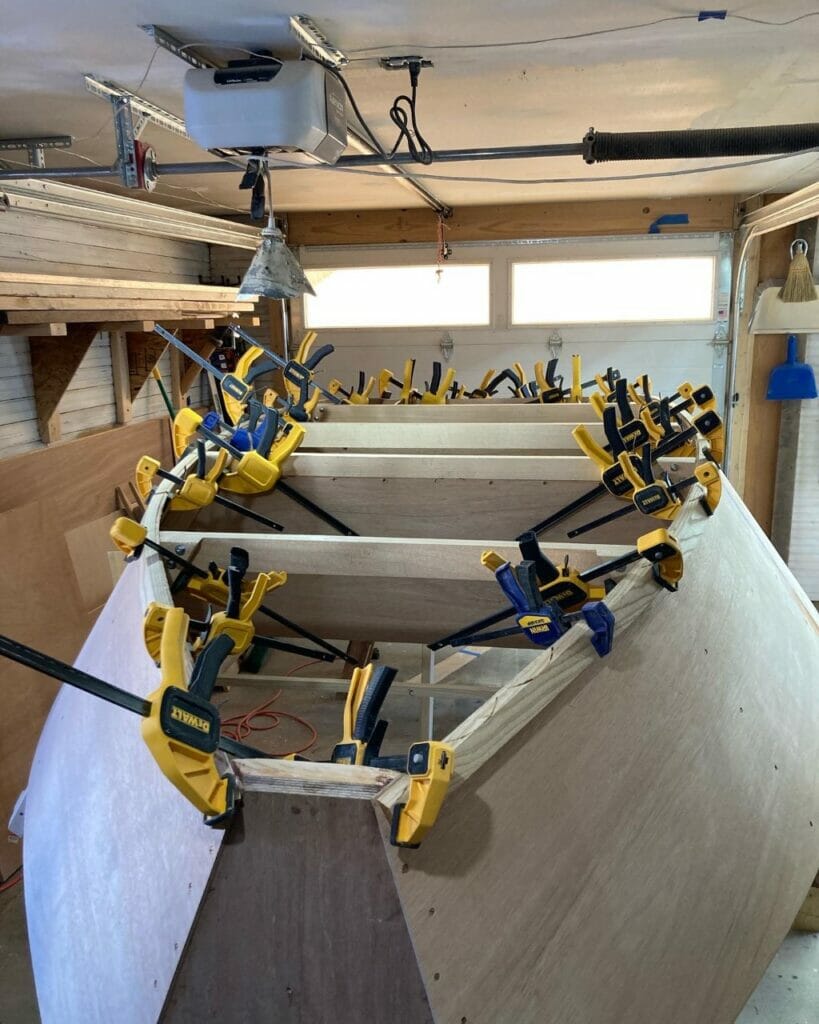
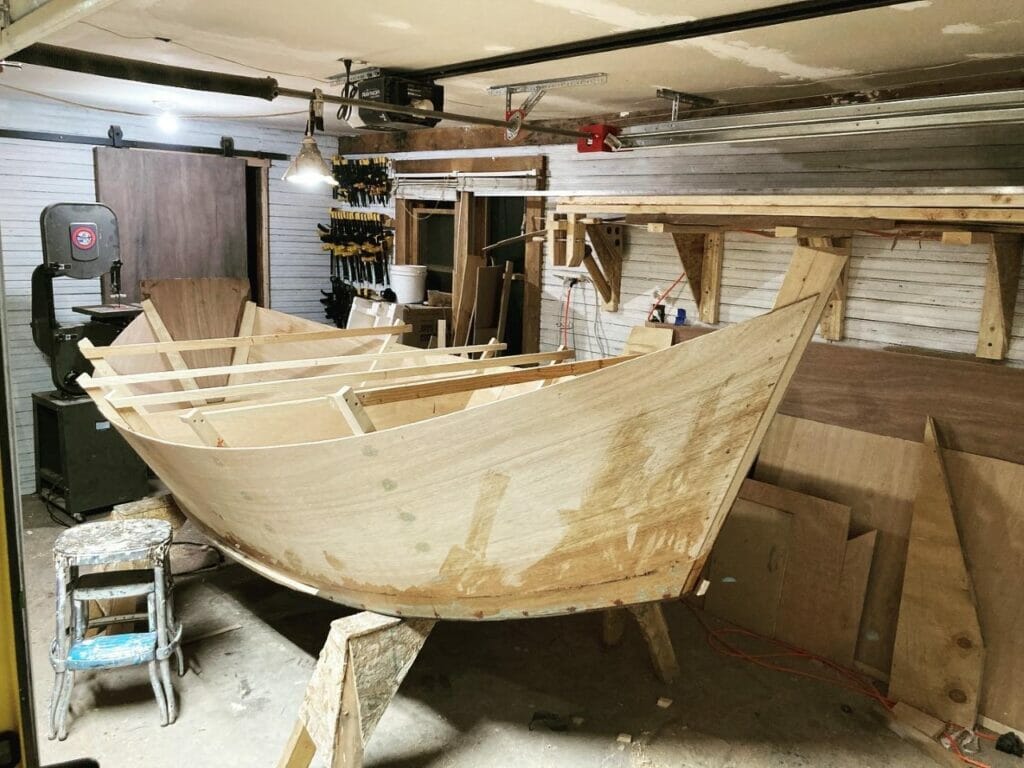
Then, it was time for the big reveal! I got some friends and family to help me flip the boat over so we could see it right side up for the first time. It was a pretty amazing moment. All those months of prep work of figuring out the numbers, making scale models, drawing out the lofting, and refiguring it all over and over again really paid off. It came together beautifully! I’m quite pleased with how it looks (only planning on making a few small changes to the next models that I’ll be building for customers). I also finally got to see how all the storage would work. The front cross hatch (where the passenger’s seat will be) looks like it’ll be a good spot to fit some square buckets for food and water cans. The side hatches can fit two square buckets each, but would be used better for drink storage, a rescue kit and repair kit, and smaller drybags. The stern hatch is huge! Room for two Colorado-sized Watershed bags, more square buckets, and more. A couple could comfortably self-support a Grand Canyon trip on this boat! No doubt about it.
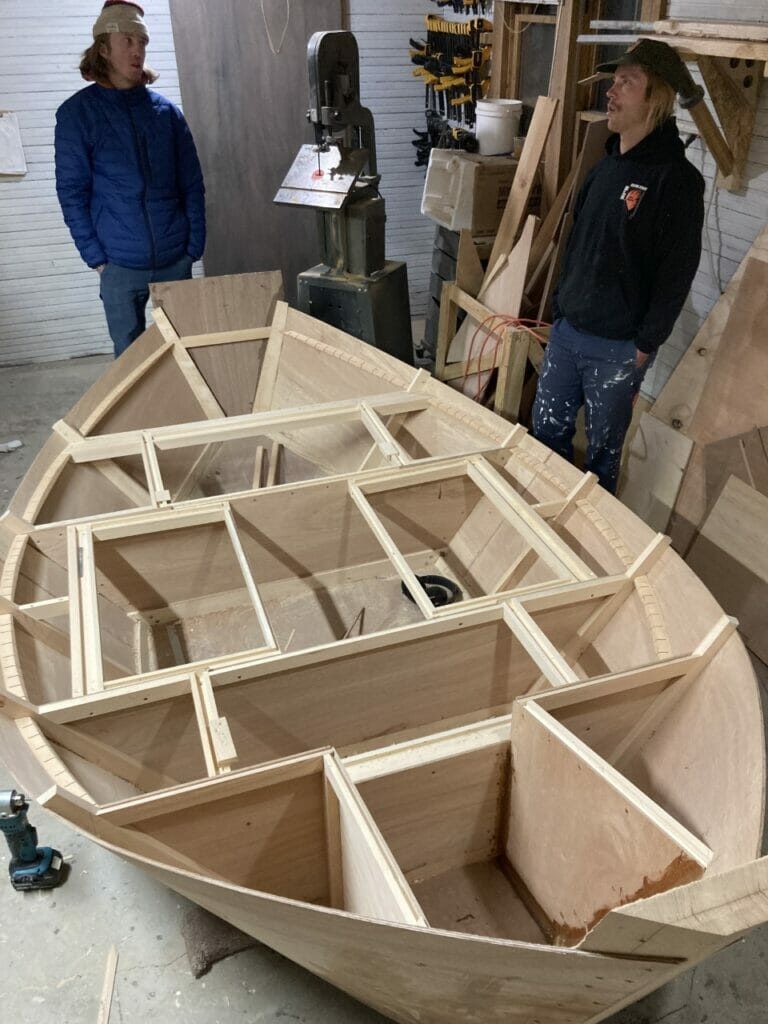
Building the hull is the fast part however. The decking, hatches, and plumbing can be a slow and sometimes frustrating process. The biggest challenge so far was figuring out how the front passenger footwell and bow hatches were all going to come together. I was worried the bow hatches would be too small for any usable storage and the foot well would be a little claustrophobic, but after build them and trying them out it feels quite nice actually. The reversible seat with the bowpost as your backrest is going to be a dream to sit in! Can’t wait.
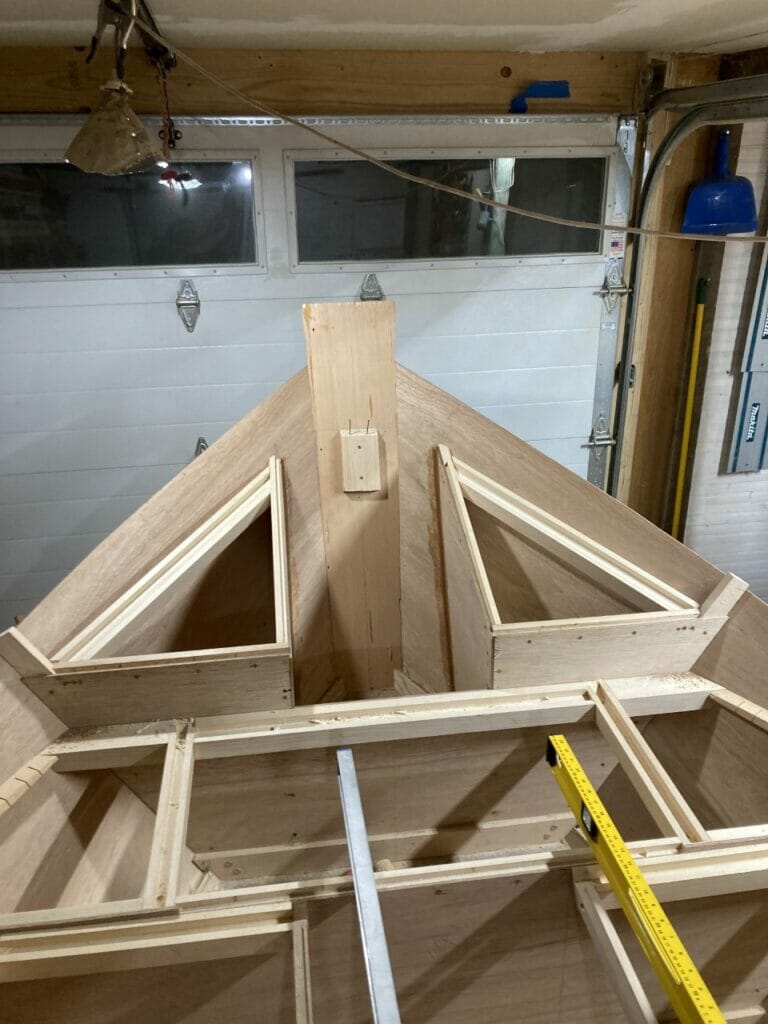
Next will be cutting the all important sheer line (the top edge of the boat), which dictates how the boat looks on the water. Then we’ll steam bend the gunwales and figure out plumbing for bailing water out, and fitting the plywood decking.