
When I first started tying flies, I would avoid tying with bucktail altogether—it was unwieldy and my flies never seemed to come out the way I liked them.
But, when I started fishing bigger water, and when I started chasing fish in saltwater, I had to get my head around tying with bucktail, and now, I’m fairly adept at using this material. Honestly, it took some trial and error, but, with the help of other tiers—particularly the tying pros that host YouTube tutorials—I’ve come to realize that bucktail is actually one of the most forgiving tying materials available.
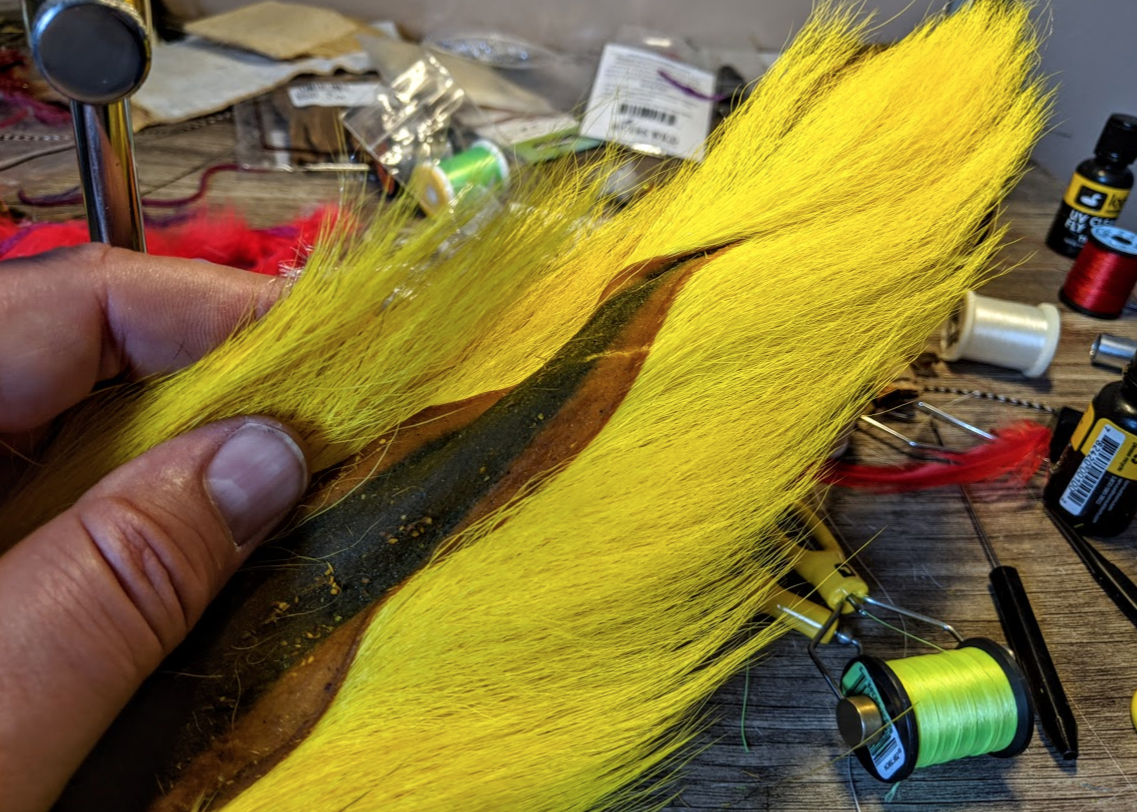
As you’ll see in the video above from Rich Strolis, tying with bucktail is all about where you source your material on the particular tail you’re using. The material toward the tip of the tail is easily the best for patterns like Clousers and Deceivers. It generally lays flat, and if you cord up your tying thread before you tie the material in, you’ll be able to achieve that “minnow” feel — the hair from the tip section doesn’t flare much when you tie it in.
As you work your way down the tail, the material becomes a bit more robust—it flares when you tie it, which makes it good for spun-hair flies. The hairs in middle kind flare more subtly and are sort of the “happy medium” between tip hair and base hair. This portion of the bucktail is good for all sorts of applications.
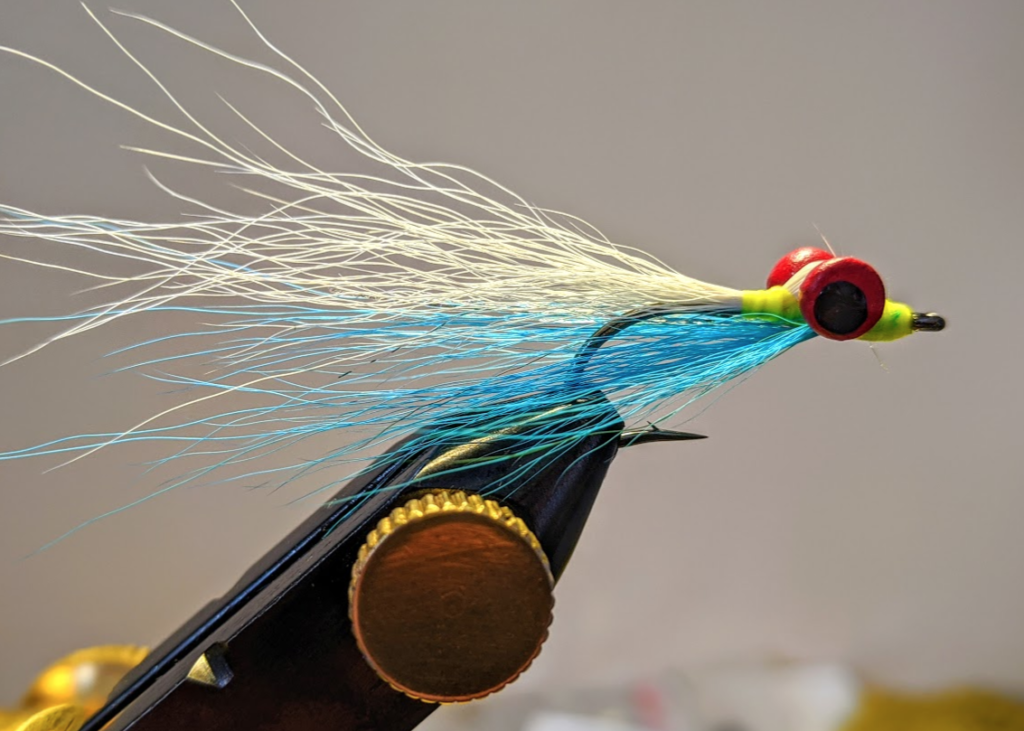
I almost solely use bucktail for Clouser patterns. I love that it comes in a variety of colors, and I’ve used it to tie Clousers geared toward salmon and steelhead (pink and purple), to bass, pike and bowfin (yellow and chartreuse) and even roosterfish (blue and olive).
It’s a durable material that lasts a long time. If you’re a bucktail skeptic, watch Rich’s video. You’ll be a bucktail convert in no time.